Starting to use @Note
Configuration
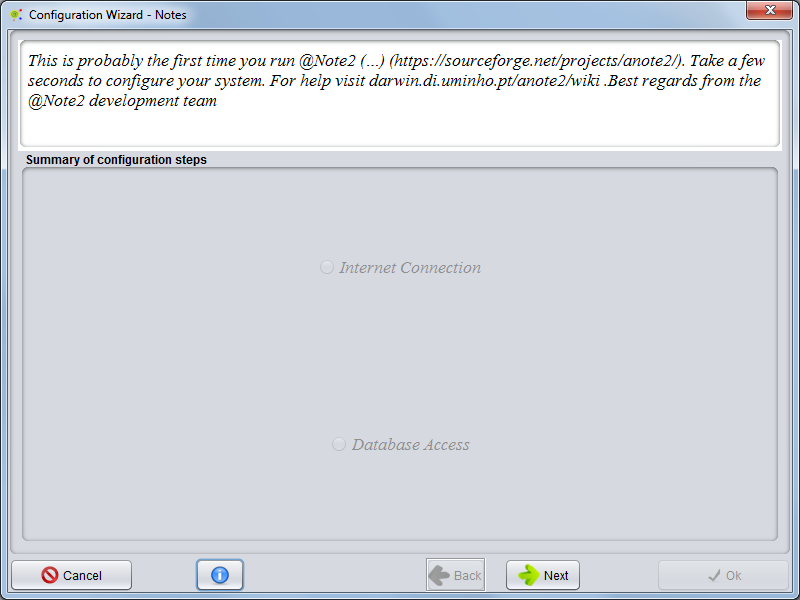
Step 1: The wizard starts by showing the panel below. Here, the user can cancel the operation (clicking on the cancel button and @Note closes; the next time you run it, the process will re-start). The user can select the help button opening a new tab in your browser with @Note2 Wiki contents with helpful instructions. To continue the configuration, click on the “Next” button.
When @note runs for first time you need to configure some fields using a wizard for the configuration of the application.
The two crucial aspects to configure are Proxy and DataBase.
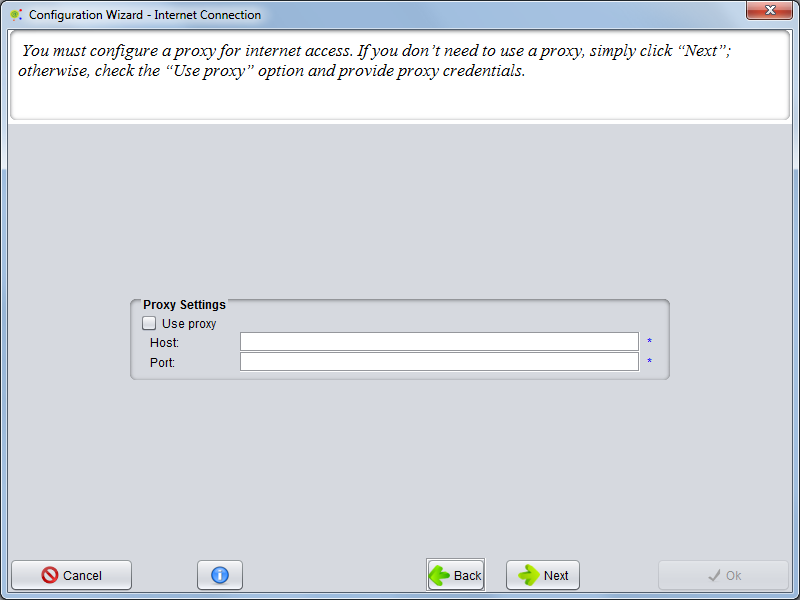
Proxy Configuration
If your machine is under a proxy server you must select the Use proxy button. and fill Host and Port fields.
Otherwise, just press the Next Button
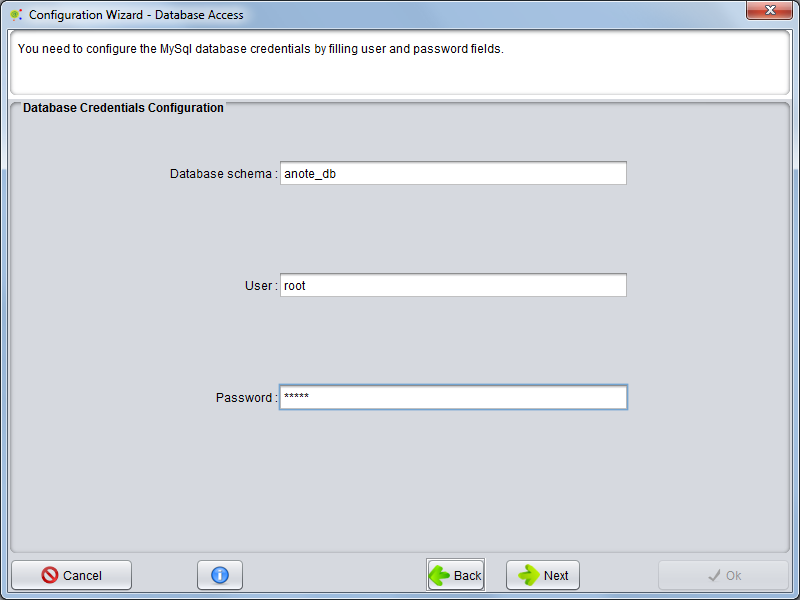
Database Configuration
You must configure the database credentials, User and User Password and press Next. The application will verify your credentials.
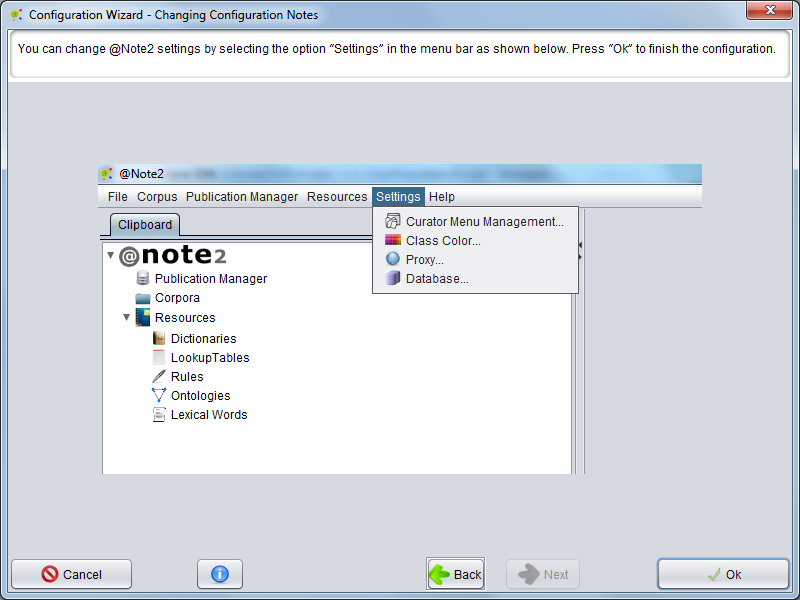
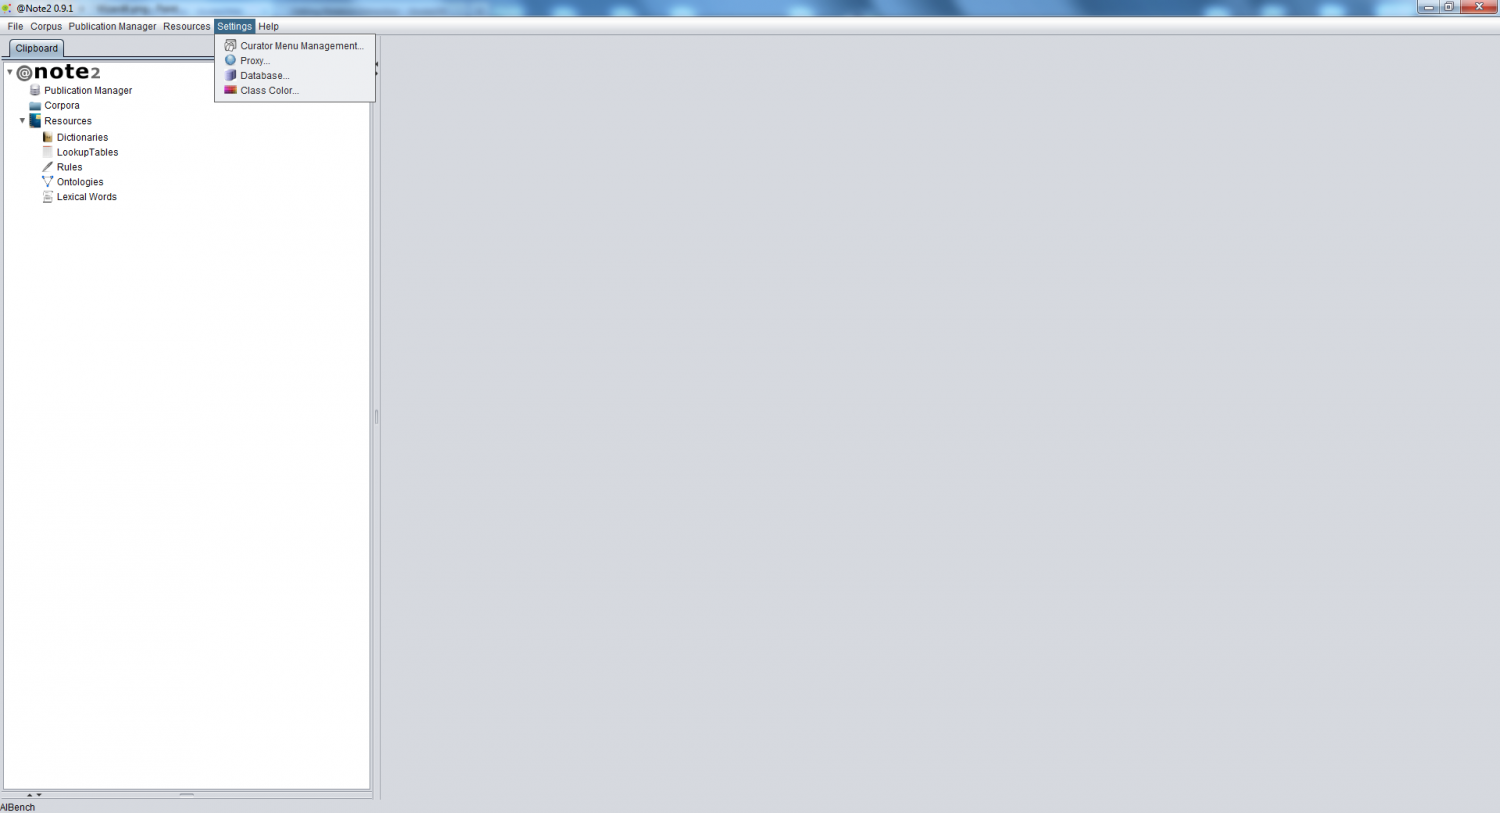
Change Configurations
To change the settings, you should select the appropriate option in @note Menu Bar.
