REProcess Export To XGMML File
Contents
Operation
This operation allows you to export the entities/relations contained in an REProcess to a network/ graph file in the XGMML format. This file can be afterwards be opened in network visualization and topology analysis such as Cytoscape
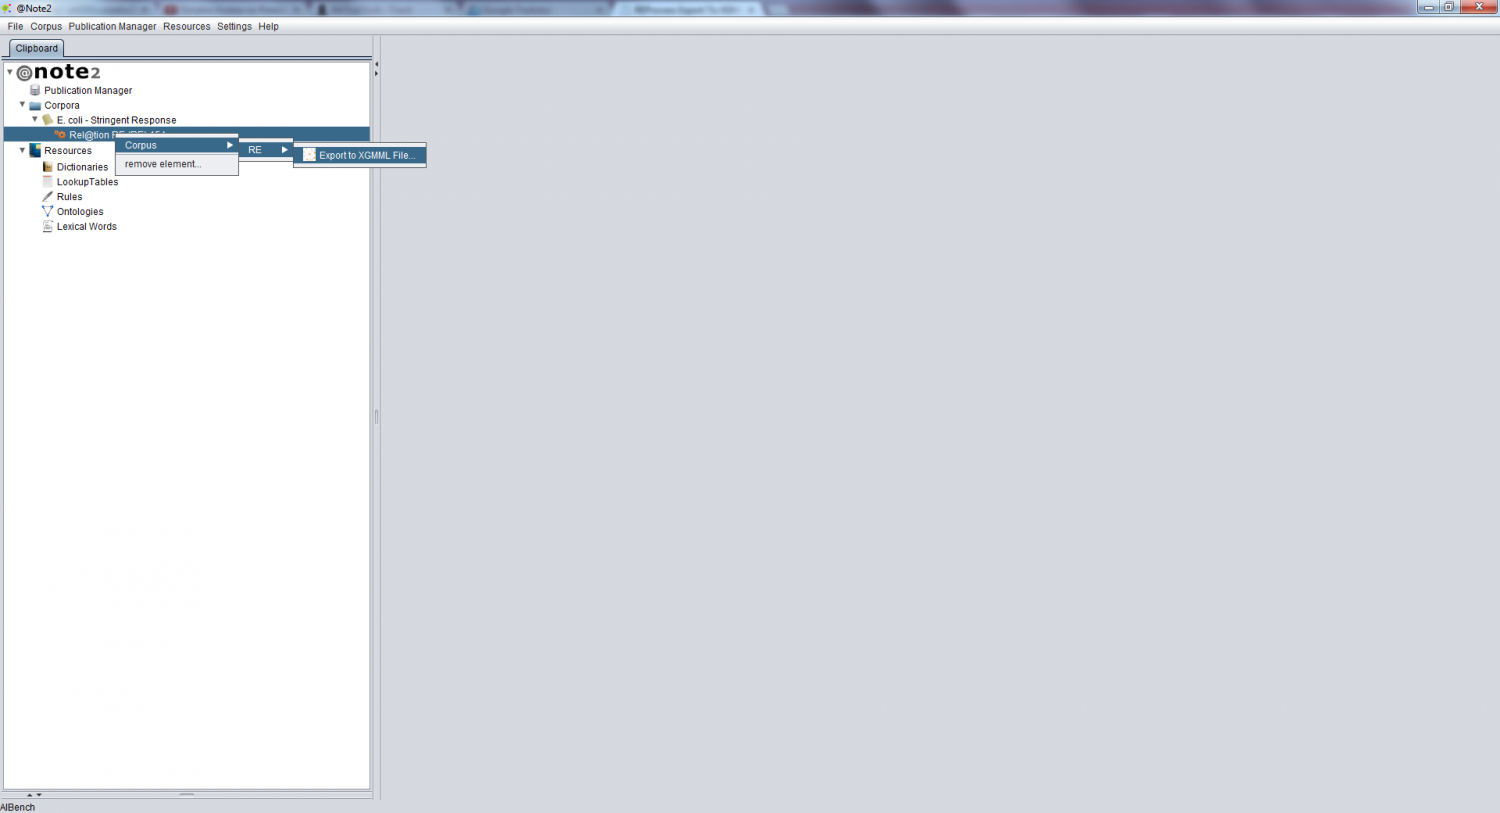
To perform this operation, you need to first select the desired RE Process and right click to select Corpus -> RE -> Export To File XGMML
A wizard will be launched for the configuration of the export process.
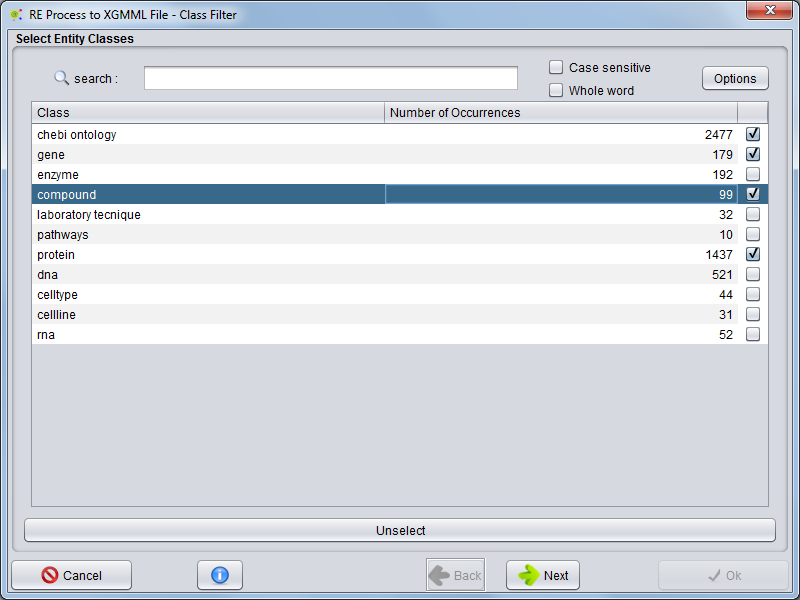
Entity Selection - Classes (Nodes)
In the first panel, you can choose which entities (classes) will be exported to the network file.
Relation Selection
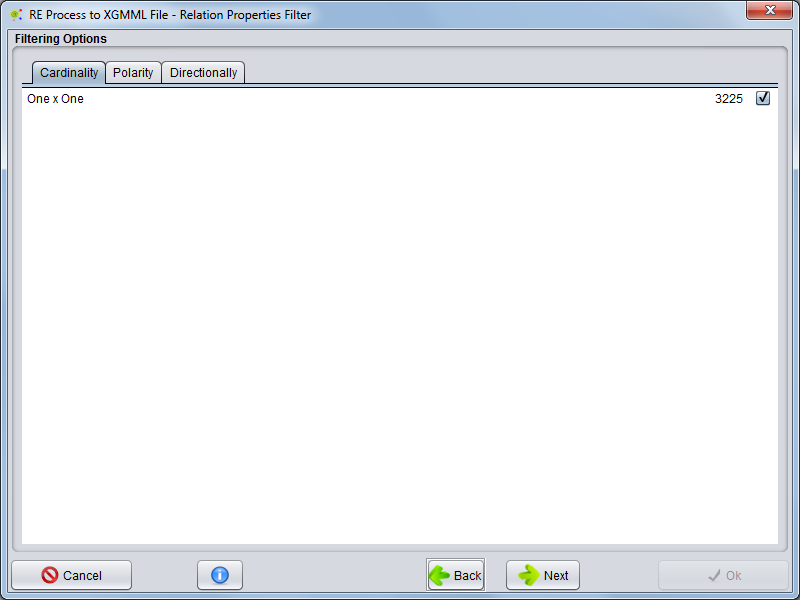
In the next panel, you can filter the relationships to be included in the network to export. Here, you can select which features the relationships need to have (e.g. in terms of directionality, cardinality and polarity) to be part of the network.
Cardinality
Selecting the Cardinality tab, you can select which types of cardinalities the relations need to have to be included in the network.
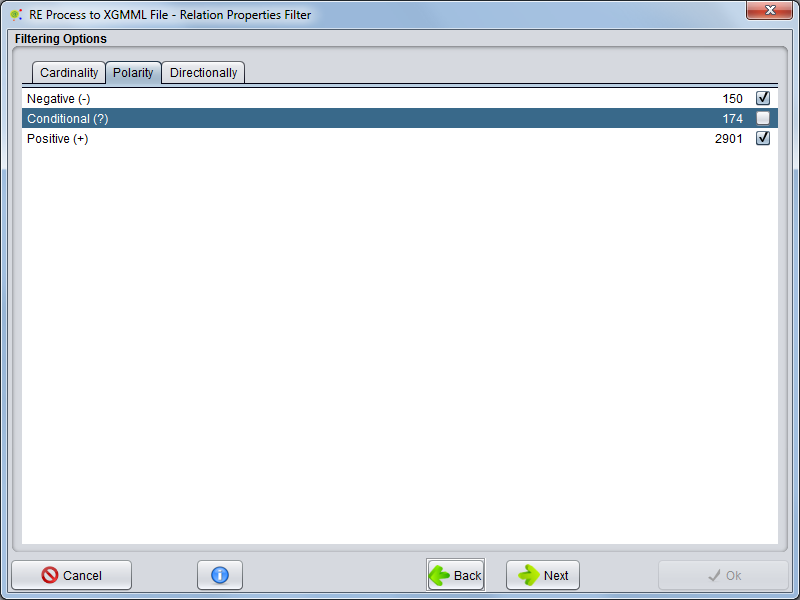
Polarity
Selecting the Polarity tab, you can select which types of polarities the relations need to have to be included in the network.
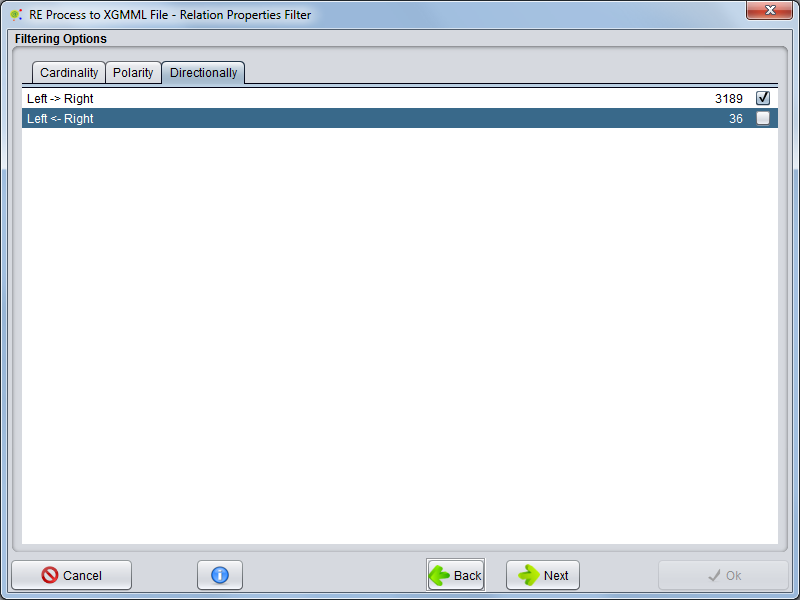
Directionally
Selecting the Directionality tab, you can select which types of directionalities the relations need to have to be included in the network.
Advanced Options
In the next panel, you can configure some advanced options.
General
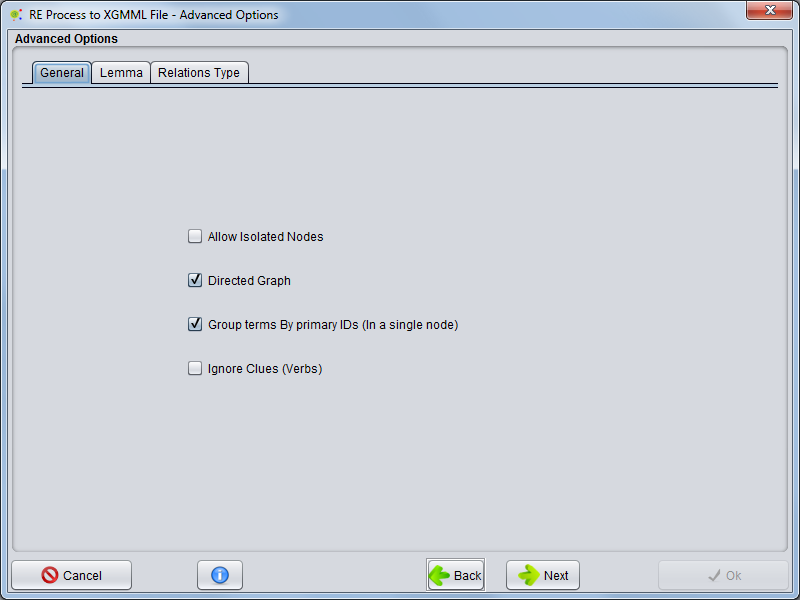
In the General tab, you will be able to configure some general purpose options, listed below:
- Allow isolated nodes - you can select whether the network will have isolated nodes (nodes without any connection to/from other nodes) or if these will be removed
- Directed Graph - you can define whether the generated graph is directed or not.
- Group Terms By primary ID's (In a single node) - you can choose whether each term is a node or if a set of interconnected terms (main term and synonyms) are merged into a single node.
- Ignore Clues - you can choose whether there can be multiple edges between two nodes (using the clues/ verbs of relationships) or if there is a single connection between a pair of nodes (ignoring the specific clues/ verbs)
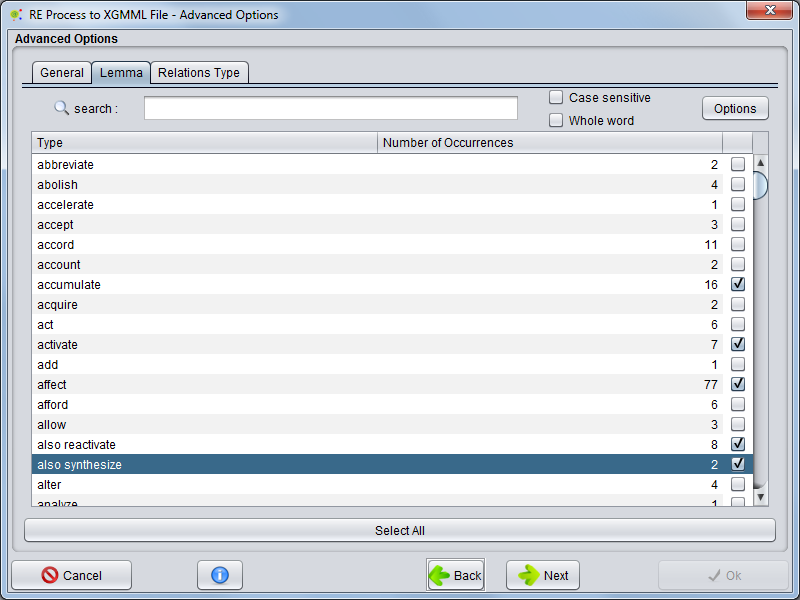
Lemma
Selecting the Lemma tab you can choose which lemma clues will be present as network edges.
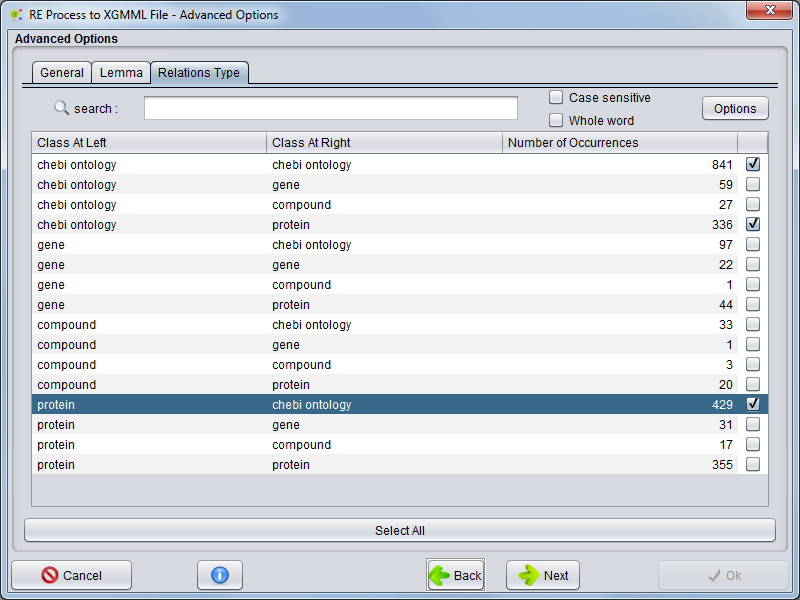
Relation Type
Selecting the Relation Type tab you can choose which relation types will be present as network edges.
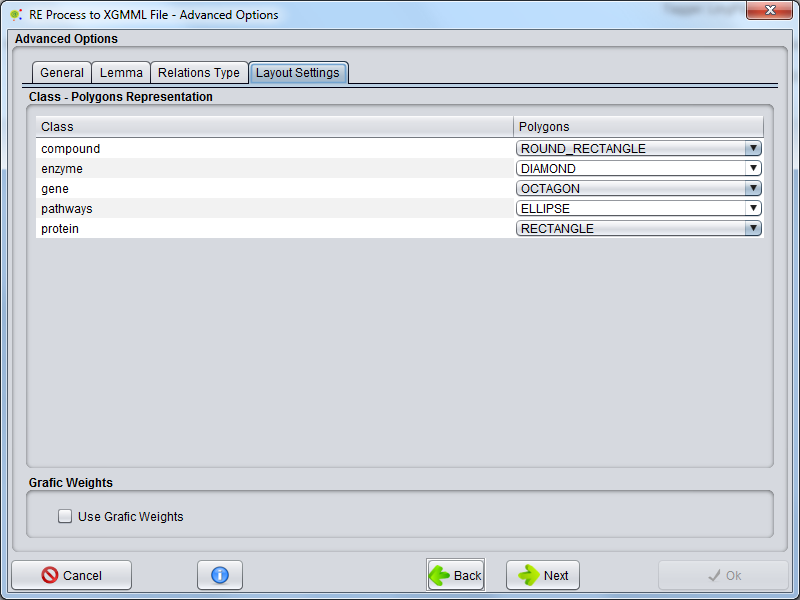
Layout Settings
Selecting the Layout Settings tab you can choose which polygon will represent each class and define if wights are represented graphically (line polygon thickness)
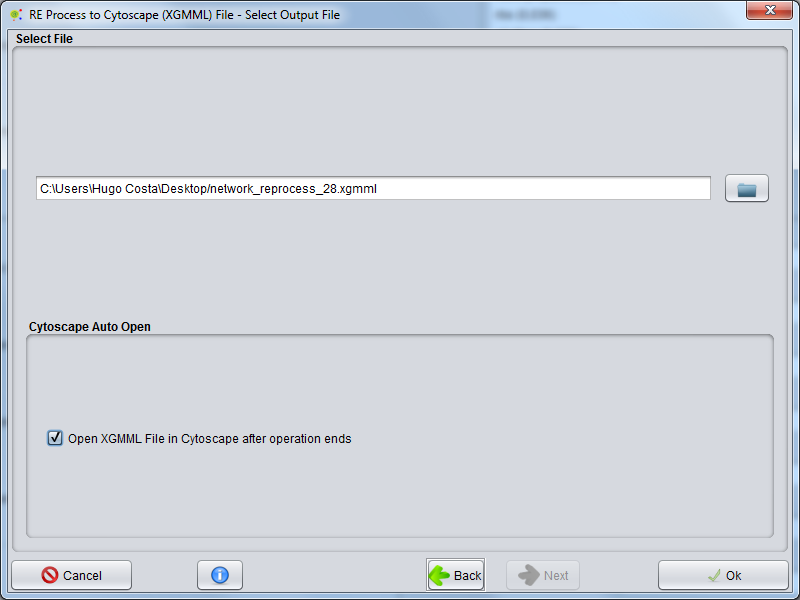
Select File
In the final wizard panel you can choose where to save the network file (.XGMML) and option select if wish that Cytoscape open the network generated in operation
Select Cytoscape Auto Open Option
If user already define a Cytoscape Directory can open Cytoscape after operation ends enable Auto Open Cytoscape after XGMML File check box.
Result
Upon completion of the configuration, a new operation is launched, creating the network according to the required definitions and saving the file to the chosen location.
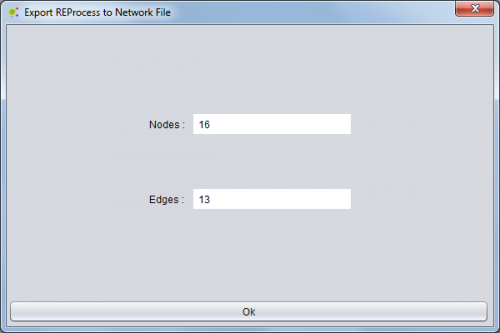
In the end of the operation, you have access to an operation report containing information about the network exported (number of nodes and edges).
The created file can then be opened in tools that have capability to import .XGMML files, such as Cytoscape
